
Warplet is a macOS app that connects hosted AI clients like ChatGPT, Claude, Perplexity, and Grok to MCP servers running locally on your Mac. No port forwarding or cloud hosting is required. It opens a secure tunnel and gives you one URL per local MCP server to paste into any AI client.
Beeper ships an MCP server as part of its Desktop API. It is a local HTTP server, which is exactly the shape Warplet forwards to, so no bridge or plugin is needed. With it enabled you can search and read messages across every chat network Beeper is connected to, and send new ones, from whichever AI client you prefer. This guide walks through enabling the Desktop API, creating an access token, and connecting it in Warplet.
Beeper Desktop must be running for any of this to work: the MCP server lives inside the app.
1. Enable the Beeper Desktop API
In Beeper Desktop, open Settings → Integrations and enable the Beeper Desktop API. Once enabled, the local server listens on port 23373, with the MCP endpoint at http://localhost:23373/v0/mcp.
The server binds to localhost only, so nothing on your network can reach it directly. Warplet runs on the same Mac, so it connects over localhost like any other local client.
2. Create an access token
Still in Settings → Integrations, find Approved connections and click the + button next to it. Follow the prompts to generate an access token, then copy it. You will paste it into Warplet in the next step.
Treat this token as a password. It grants read and write access to every chat network linked to your Beeper account.
3. Add Beeper as a server in Warplet
Open Warplet and click Manage Servers, then the + button to add a new server. Fill in:
- Name:
Beeper - ID (URL prefix):
beeper - URL:
http://localhost:23373/v0/mcp - Authorization: check this box and paste the access token you created in Beeper into Bearer Token
Click Test Connection to confirm Warplet can reach Beeper, then Add.
4. Copy your Beeper URL and connect an AI client
Back in the main Warplet window, your Beeper entry now appears under Use these URLs to connect your favorite LLM. Copy that URL.
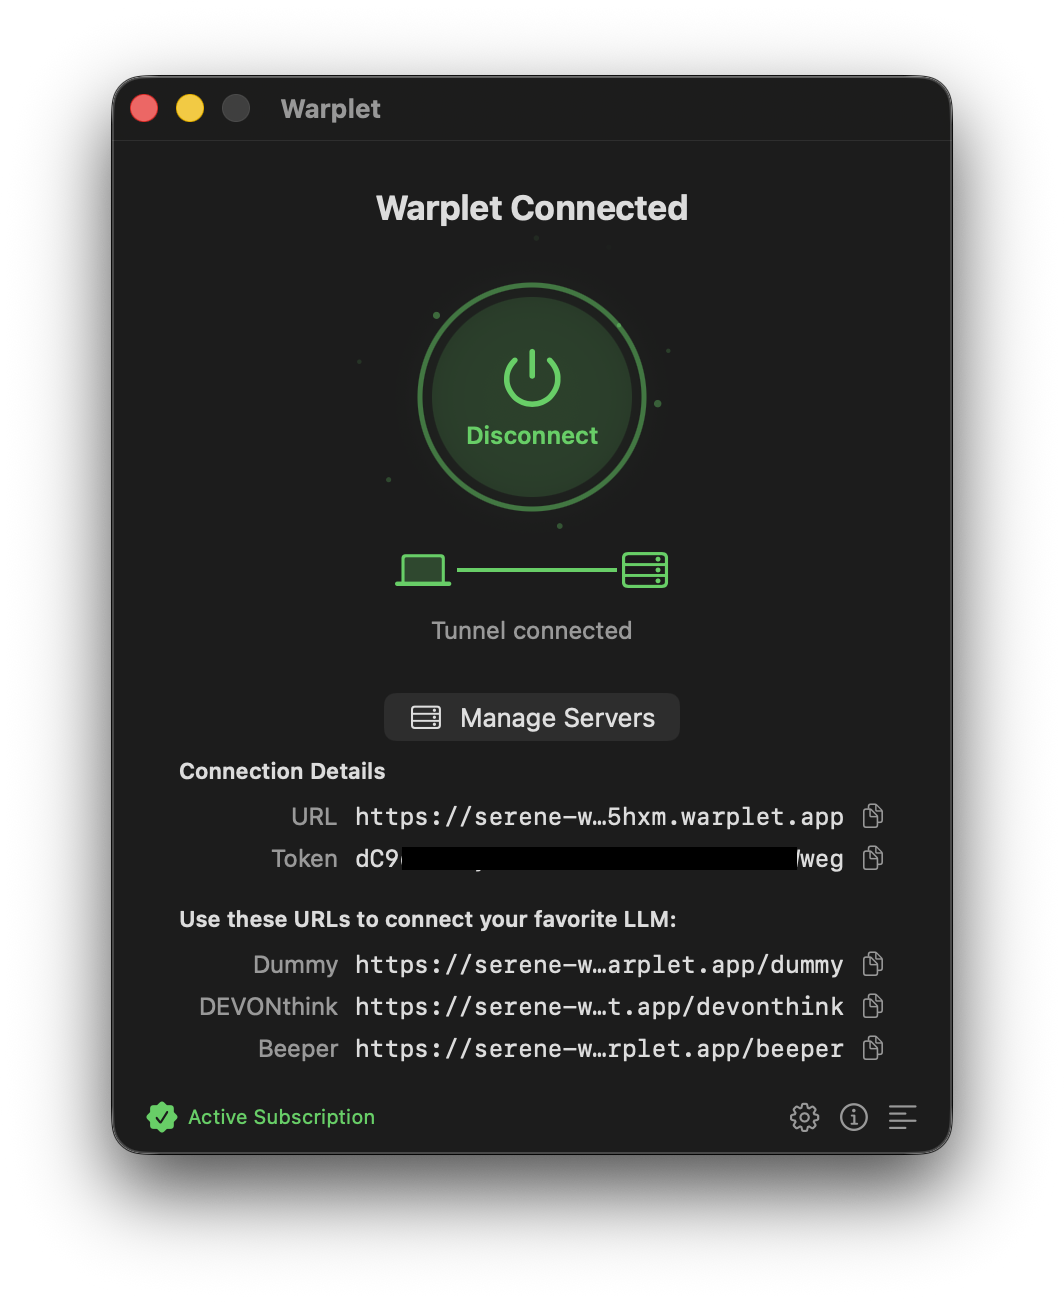
Add it as a custom connector in your AI client of choice, using the same steps as any other Warplet server:
- Connect Warplet to ChatGPT
- Connect Warplet to Claude
- Connect Warplet to Perplexity
- Connect Warplet to Grok
- Connect Warplet to Grok Bot
- Connect Warplet to Gemini
When the client asks you to authorize, paste the Warplet bearer token. Do not use the Beeper access token here; that one stays inside Warplet's server configuration from step 3.
Things to know
- Two separate secrets are involved. The Beeper access token authenticates Warplet's local request to Beeper. The Warplet bearer token authenticates the AI client's remote request to Warplet. Mixing them up produces
401errors. - Beeper Desktop needs to be running. The MCP server is part of the app, not a background service. If Beeper is closed, Warplet has nothing to forward to.
- This covers every network Beeper is connected to. Beeper is a unified inbox, so a single connector reaches WhatsApp, Signal, iMessage, Telegram, and anything else you have linked, rather than one connector per service.
- Write access is real. The Beeper MCP server can send messages, not just read them. Think about that before granting a client access to it, and revoke the token from Approved connections if you change your mind.