
Warplet is a macOS app that connects hosted AI clients like ChatGPT, Claude, Perplexity, and Grok to MCP servers running locally on your Mac. No port forwarding or cloud hosting is required. It opens a secure tunnel and gives you one URL per local MCP server to paste into any AI client.
Home Assistant ships a first-party Model Context Protocol Server integration. Once enabled, it turns the entities you have exposed to Assist into MCP tools, so an AI client can read the state of your home and, if you allow it, control it. Like DEVONthink, it speaks Streamable HTTP directly, so no gateway is needed. What it does not have is a public address: Home Assistant lives on your home network, and hosted AI clients cannot reach it. That is the gap Warplet closes.
Remote access without port forwarding
If you have run Home Assistant for any length of time, you have probably already been down the remote access road: forwarding port 8123 on your router, buying a domain and pointing DNS at your home IP, keeping a Let's Encrypt certificate renewed, standing up an Nginx or Caddy reverse proxy, or configuring your own Cloudflare or Tailscale tunnel. Every one of those works, and every one of them puts your Home Assistant login page somewhere on the public internet.
Connecting an AI client does not need any of that. Warplet gives Home Assistant one authenticated HTTPS URL that only speaks MCP, so:
- No port forwarding. Nothing is opened on your router. The tunnel is outbound from your Mac.
- No domain or DNS setup. You get a
warplet.appsubdomain, not a hostname you have to buy and maintain. - No reverse proxy and no certificates. TLS terminates at the tunnel, so there is no Nginx config and no renewal to forget.
- No second tunnel to babysit. If you already run one for the Home Assistant UI, you do not have to widen it or expose the whole instance just to let an AI read a sensor.
- The Home Assistant UI stays private. The public URL reaches the MCP endpoint only, and only with a bearer token. It is not a way in to your dashboard.
Warplet does need a Mac on your network to run on. If that is the tradeoff you want, the rest of this guide takes about ten minutes.
1. Expose the entities you want the AI to see
The MCP server only offers up entities that are already exposed to Assist, so do this first. In Home Assistant, go to Settings → Voice assistants → Expose, and add the entities you want reachable. Start small. Every exposed entity becomes a tool an AI client can call.
2. Enable the MCP Server integration
Go to Settings → Devices & services, click Add integration at the bottom right, and choose Model Context Protocol Server. Follow the prompts.
During setup you pick which LLM API the server should expose. The built-in one is called Assist, and its id is assist. Note which one you chose, because it becomes part of the URL.
If you want the AI client to be able to change things rather than only read them, make sure the Control Home Assistant option is enabled for that LLM API. Leaving it off gives you a read-only setup, which is a sensible place to start.
Home Assistant now serves MCP at /api/mcp/<api_id> on your usual address, so with Assist that is /api/mcp/assist. There is also a plain /api/mcp that uses the default API. Both work; this guide uses the explicit assist form because it is unambiguous about which API you are connecting.
Both paths are exact. Home Assistant does not serve the trailing-slash variants, so /api/mcp/assist/ returns 404 rather than falling through to /api/mcp/assist. That detail matters in step 5.
3. Create a long-lived access token
Warplet authenticates to Home Assistant with a token rather than through a browser login. This is the same long-lived access token the Home Assistant MCP Server documentation describes for clients that do not use OAuth.
In Home Assistant, click your user name in the sidebar, open the Security tab, scroll to Long-lived access tokens, and select Create token. Name it something you will recognize later, such as Warplet.
Copy the token now. Home Assistant shows it once and never again.
4. Add Home Assistant as a server in Warplet
Open Warplet and click Manage Servers, then the + button to add a new server. Fill in:
- Name:
Home Assistant - ID (URL prefix):
homeassistant - URL:
http://192.168.1.3:8123, the origin only, with no path after the port - Authorization: check this box and paste the long-lived access token into Bearer Token
Two things here are easy to get wrong, and both produce errors that look like something else.
Leave the path off the URL. Enter the origin only, not http://192.168.1.3:8123/api/mcp/assist. The MCP path goes on the connector URL in step 5 instead. The reason is in step 5.
The Authorization box is required, not optional. When a route has an upstream token set, Warplet replaces the incoming Authorization header with it, which is what you want: Home Assistant sees its own long-lived token. If you leave it unchecked, Warplet sends no credentials to Home Assistant, which rejects the request with a 401.
Use whatever address you normally reach Home Assistant at. A fixed local IP is the most reliable; http://homeassistant.local:8123 works too if mDNS is dependable on your network. Warplet forwards to whatever URL your Mac can reach, so Home Assistant does not have to run on the Mac itself.
Click Test Connection, then Add. Be aware that a passing test is weaker evidence than it looks: it posts to the URL exactly as you typed it, which is not the URL the AI client will use. Step 5 is what actually proves the setup.
5. Copy your Home Assistant URL and connect an AI client
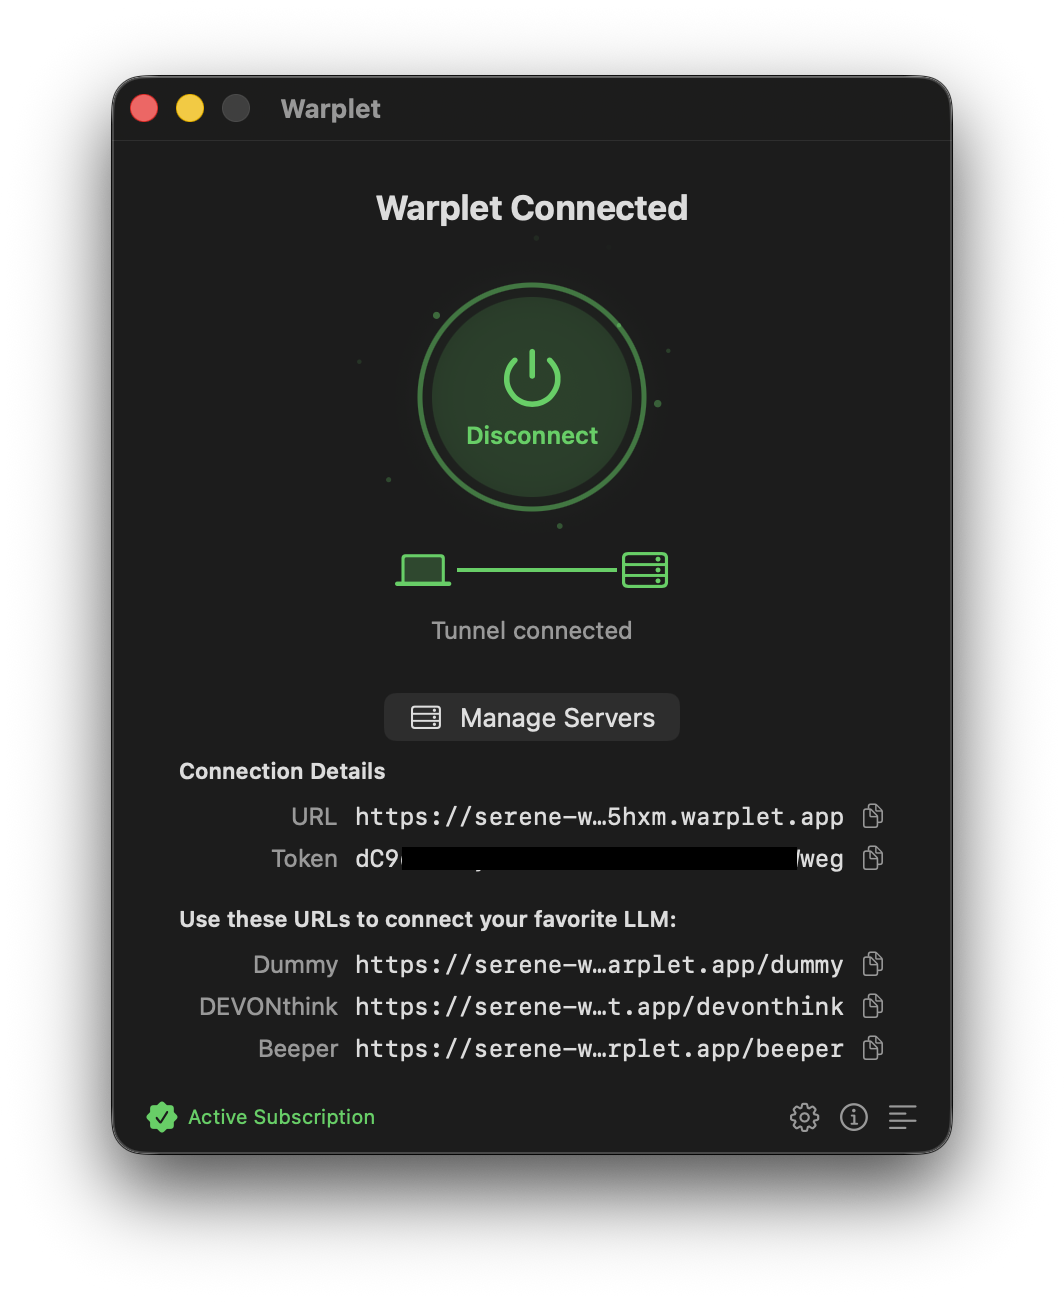
Back in the main Warplet window, your Home Assistant entry now appears under Use these URLs to connect your favorite LLM. Copy that URL and add /api/mcp/assist to the end of it, so the connector URL you give your AI client looks like:
https://your-tunnel.warplet.app/homeassistant/api/mcp/assist
That full URL, path included, is what goes into ChatGPT, Claude, Perplexity, or Grok. Warplet strips the /homeassistant prefix and forwards /api/mcp/assist to Home Assistant unchanged, so the request lands on the exact path the integration registers.
This is also why the path does not belong in Warplet's URL field. An MCP client posts to the root of whatever URL you gave it, so if the path is configured on the Warplet side instead, the request arrives as /api/mcp/assist/ with a trailing slash that Home Assistant answers with a 404. Keeping the path on the connector URL avoids it.
OAuth discovery is unaffected by the deeper path. The 401 Home Assistant returns advertises resource_metadata under /.well-known/oauth-protected-resource/homeassistant, which is keyed off the route prefix rather than the full path, so clients that discover automatically still find it.
Add it as a custom connector in your AI client of choice, using the same steps as any other Warplet server:
- Connect Warplet to ChatGPT
- Connect Warplet to Claude
- Connect Warplet to Perplexity
- Connect Warplet to Grok
- Connect Warplet to Grok Bot
- Connect Warplet to Gemini
When the client asks you to authorize, paste the Warplet bearer token. Do not use the Home Assistant long-lived token here; that one stays inside Warplet's server configuration from step 4.
Things to know
- If every request 404s, check where the path is configured. This is the one setup mistake that produces a wall of identical failures: the path sitting in Warplet's URL field rather than on the connector URL. Home Assistant's routes are exact, so the trailing slash that results is a
404before authentication is even considered. A passing Test Connection does not rule this out, since it posts to the slashless URL directly. - If every request 401s, check the Authorization box. With no upstream token set, Warplet sends no credentials to Home Assistant. The upstream token must be the Home Assistant long-lived token.
- Two separate secrets are involved. The long-lived access token authenticates Warplet's request to Home Assistant. The Warplet bearer token authenticates the AI client's request to Warplet. Mixing them up produces
401errors. - Your Mac has to be awake. Warplet runs on your Mac and the tunnel goes through it, so the Mac needs to be on and connected for the AI client to reach Home Assistant, even though Home Assistant itself is running elsewhere.
- Exposure is the security boundary. The MCP server never sees entities you have not exposed to Assist. If you want an AI client kept away from your locks or cameras, leave them unexposed rather than relying on the prompt.
- Start read-only. Connect with Control Home Assistant turned off, confirm the client is reading states correctly, then decide whether to grant control.
- Not every MCP feature is implemented. Home Assistant supports prompts, tools, and resources. Sampling and notifications are not supported, which is fine for the request and response pattern hosted AI clients use.