
Warplet is a macOS app that connects hosted AI clients like ChatGPT, Claude, Perplexity, and Grok to MCP servers running locally on your Mac. No port forwarding or cloud hosting is required. It opens a secure tunnel and gives you one URL per local MCP server to paste into any AI client.
NotePlan publishes an official MCP server that reads and writes your daily notes, project notes, and tasks. Unlike DEVONthink or Beeper, it speaks stdio rather than HTTP: it is designed to be launched as a subprocess by a desktop AI app, not to listen on a port. Warplet forwards HTTP, so this setup needs one extra piece, a small gateway that runs the NotePlan server and puts a local HTTP endpoint in front of it.
That gateway is the only difference from any other Warplet setup. Once it is running, NotePlan behaves like every other server in the app.
1. Check the NotePlan MCP server works on its own
The server is distributed on npm and runs with npx, so nothing needs installing first. Confirm it starts:
npx -y @noteplanco/noteplan-mcp
It will sit there waiting for stdio input, which is what you want to see. Press Ctrl-C to stop it.
By default the server may activate NotePlan through AppleScript when a tool needs it. If you would rather it never opens the app, set NOTEPLAN_MCP_AUTOLAUNCH=false and it falls back to reading your notes from disk.
2. Put an HTTP endpoint in front of it
Supergateway runs a stdio MCP server and exposes it over streamable HTTP. Start it with the NotePlan server as its child process:
npx -y supergateway \
  --stdio "npx -y @noteplanco/noteplan-mcp" \
  --outputTransport streamableHttp \
  --port 8765
The MCP endpoint is now http://localhost:8765/mcp. Leave this running in a terminal window; when it stops, so does your NotePlan connection. If you want it to survive reboots, wrap it in a launchd agent.
Port 8765 is an arbitrary choice. Any free port works, as long as you use the same one in the next step.
3. Add NotePlan as a server in Warplet
Open Warplet and click Manage Servers, then the + button to add a new server. Fill in:
- Name:
NotePlan - ID (URL prefix):
noteplan - URL:
http://localhost:8765/mcp - Authorization: leave this unchecked. Supergateway does not add authentication of its own, and it is listening on localhost only.
Click Test Connection to confirm Warplet can reach the gateway, then Add.
4. Copy your NotePlan URL and connect an AI client
Back in the main Warplet window, your NotePlan entry now appears under Use these URLs to connect your favorite LLM. Copy that URL.
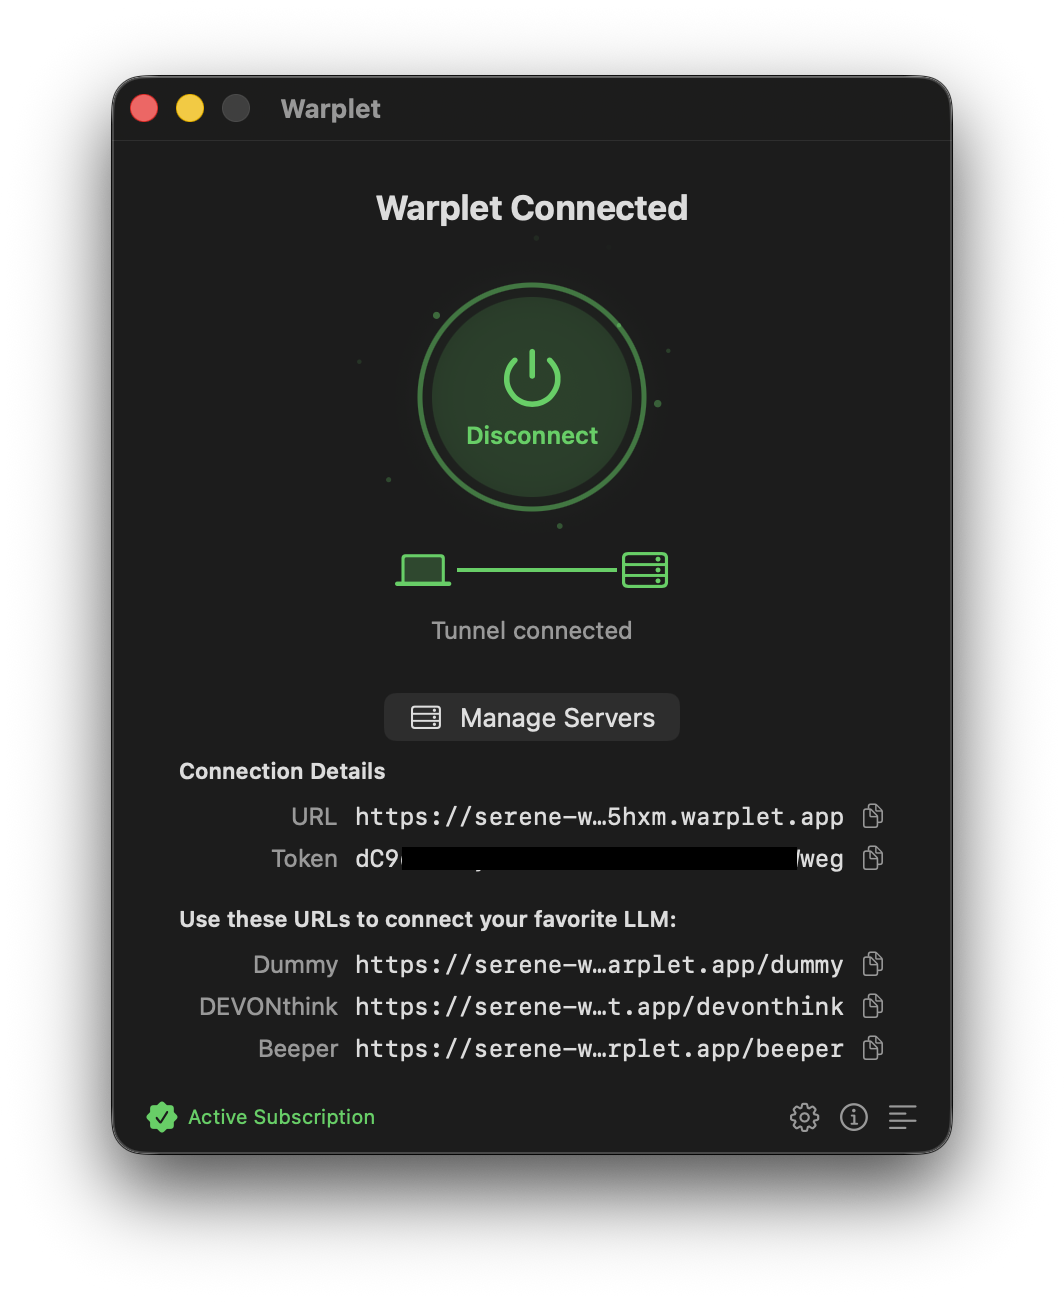
Add it as a custom connector in your AI client of choice, using the same steps as any other Warplet server:
- Connect Warplet to ChatGPT
- Connect Warplet to Claude
- Connect Warplet to Perplexity
- Connect Warplet to Grok
- Connect Warplet to Grok Bot
- Connect Warplet to Gemini
When the client asks you to authorize, paste the Warplet bearer token.
Things to know
- The gateway has to stay running. Unlike an app-hosted MCP server, nothing restarts this for you. If the terminal window closes, Warplet's test connection starts failing.
- Warplet's bearer token is the only gate. The gateway adds no authentication, so the token you paste into your AI client is the single thing between the public tunnel URL and your notes. That is worth remembering before connecting a client you do not fully trust.
- NotePlan does not have to be open. With
NOTEPLAN_MCP_AUTOLAUNCH=falsethe server reads from your local NotePlan data rather than driving the app. Leave the default on if you would rather it opens NotePlan when needed. - Write access is real. The server creates and updates notes and completes tasks, not just reads them.
- This applies to any stdio MCP server. The same two-step pattern, gateway then Warplet, works for every MCP server that has no HTTP transport, which is still most of them.